Juicy Skillet-Fried Chicken Parmigiana From Scratch
A quick dry brine locks in moisture so the meat in this classic chicken parmigiana stays tender through the hot oil and the oven.
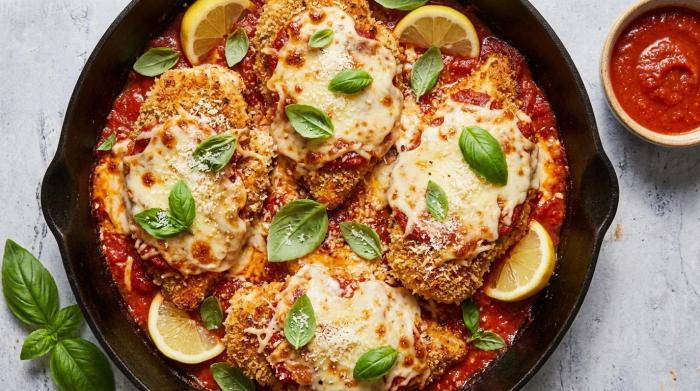
A 30-minute dry brine keeps the white meat inside this Juicy Skillet-Fried Chicken Parmigiana From Scratch completely tender. The salt draws in moisture to protect the cutlets through a quick fry and a 15-minute bake at 350°F (180°C). A rapid stovetop tomato sauce and a crispy panko crust finish the classic meal.
The Chicken & Dry Brine
Slice the chicken breasts horizontally to create thinner cutlets. You can also pound boneless thighs to an even thickness. Sprinkle them with the salt, pepper, and Italian herbs. Let them sit for 30 minutes. The dry brine retains moisture during the double cooking process.
Avoid using a wet liquid marinade. Liquid mixtures cause the chicken to release water as it cooks, which results in a soggy breadcrumb coating. If you substitute table salt for kosher cooking salt in your dry brine, you must use a smaller volume. Table salt has a finer texture than coarse salt, so 3/4 teaspoon is enough to replace 1 teaspoon of kosher salt.
The Tomato Sauce
Eschallots dissolve into the sauce more seamlessly than standard onions, though regular onions work fine. Cook the aromatics in a saucepan.
Pour in the white wine. Dry white or red wines work well. Avoid sweet, fruity, or heavily oaked varieties. Simmer the liquid until the alcohol smell dissipates.
Tomato passata gives the sauce a smooth, thick consistency right away. You do not need a long simmering time to break down chunks. Stir in the passata and chicken stock. Cover the pot and simmer the mixture.
The Breading Process
Set up your three wide dishes for the Flour Station, Egg Wash, and Panko Coating.
Coat the chicken in the flour first. The plain powder creates a strong adhesive layer so the breadcrumbs stick to the meat.
Dip the floured meat into the egg mixture.
Push the wet chicken firmly into the panko mixture. Panko breadcrumbs produce a crunchier exterior that absorbs less oil compared to standard breadcrumbs. If you need an alternative, you can substitute standard breadcrumbs or processed stale bread. The dry mix also requires finely grated parmesan with a sand-like texture. This fine cheese adheres to the crumbing better than baton-shaped shreds and adds bold flavor.
Transfer the raw breaded pieces to a plate.
The Frying Oil
Heat the olive oil to 350°F (180°C). Verify the temperature by dipping the edge of a chicken piece into the pan to ensure the liquid bubbles vigorously on contact. Fry the chicken for just 4 minutes total. Leaving the cutlets in the skillet for 10 minutes and then baking them for 20 minutes severely overcooks and dries out the meat.
Drain the fried cutlets on a wire rack rather than paper towels. The rack preserves a crispy underside. You can strain cooled frying oil through a paper towel-lined colander to clean and reuse it.
The Toppings and Baking
Move the chicken to a baking tray. Spoon the tomato sauce over each piece. Apply sauce to only 80 percent of the chicken surface. Leave the edges bare to keep them crispy.
Pile the shredded mozzarella in mounds for even melting. Add the grated parmesan. Drizzle the extra virgin olive oil directly over the parmesan layer. The oil helps the cheese melt instead of just crisping in the heat.
Bake the assembled dish for exactly 15 minutes. This short time melts the cheese without overcooking the meat. A longer trip in the oven turns the crust completely soggy under the sauce.
Storage and Serving
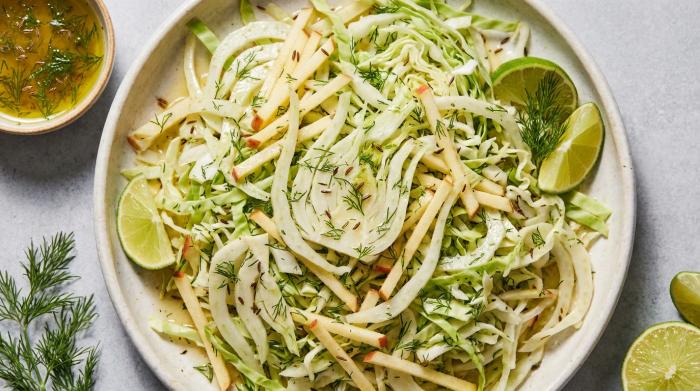
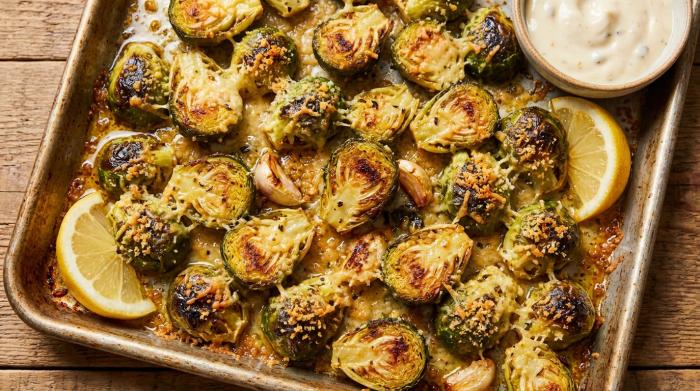
Complete the plates by sprinkling the chopped basil Garnish over the hot cheese. You can serve the chicken alongside a roasted vegetable side or a leafy green salad tossed in a balsamic vinaigrette. A slice of warm Italian flatbread or a toasted garlic loaf will also round out the meal.
Uncooked breaded chicken can sit in the refrigerator for up to 24 hours before the coating begins to sweat. Store any cooked chicken cutlets separately from the sauce so they do not turn soggy.
To reheat refrigerated cutlets, place them in a 425°F (220°C) oven for 3 to 5 minutes to restore their crispness. Add the toppings and finish baking after that.
Juicy Skillet-Fried Chicken Parmigiana From Scratch
Chicken & Dry Brine
- 3 chicken breasts, 10 oz (300 g) each, halved horizontally to form 6 pieces
- 0.5 tsp Italian mixed herbs
- 1 tsp kosher cooking salt, or 3/4 tsp table salt
- 0.5 tsp black pepper
Flour Station
- 0.33 cup plain all-purpose flour
Egg Wash
- 2 eggs
- 1 garlic clove, minced using a garlic press
- 0.25 tsp Italian mixed herbs
- 0.25 tsp each salt and pepper
Panko Coating
- 1.5 cup panko breadcrumbs, substitute normal breadcrumbs if needed
- 0.5 cup finely grated parmesan, store-bought sand-like texture is best
- 0.5 tsp salt
- 0.25 tsp black pepper
Frying Oil
- 2 cup olive oil, or vegetable or canola oil
Tomato Sauce
- 0.5 cup chicken stock, broth, or water
- 2 garlic cloves, finely minced
- 0.25 cup onion or eschallots, very finely chopped
- 0.25 tsp Italian mixed herbs
- 14 oz tomato passata, tomato puree
- 1 tbsp olive oil
- 0.25 tsp each salt and pepper
- 0.25 tsp red pepper flakes, chili flakes, optional
- 0.25 cup any white wine, optional
Toppings
- 10 roughly chopped basil leaves, substitute a pinch of dried, or omit
- 2 cup shredded mozzarella cheese, or enough slices to cover
- 0.75 cup finely grated parmesan, best to grate your own
- 1 tbsp extra virgin olive oil
Garnish
- 5 roughly chopped basil leaves, optional
We may earn a small commission from grocery & equipment links, at no cost to you. Disclosure.
Method
Chicken & Dry Brine
Tomato Sauce
Breading
Frying
Assembly
Serving
Substitutions
If you do not have premixed Italian herbs on hand, simply substitute a blend made from identical amounts of dried parsley, dried oregano, and dried basil.
Dry white or red wines work beautifully in the Tomato Sauce, but you should avoid sweet, fruity, or heavily oaked varieties.
Storage
Store your fried chicken cutlets and the Tomato Sauce in separate containers to keep the crust from getting soggy in the fridge.
Reheat refrigerated cutlets in a 430°F (220°C) oven for a few minutes to restore their crunch before adding the Toppings.
Serving
Pair this chicken with a leafy green salad dressed in balsamic vinaigrette or a side of fresh focaccia.
Common mistakes
Avoid using a wet marinade for the chicken because it releases water during cooking and ruins the crispy Panko Coating.
Do not bake the assembled dish for longer than 15 minutes or the crust will turn completely soggy under the Tomato Sauce.
Techniques
Leave the edges of the fried chicken bare when spooning on the Tomato Sauce to ensure the crust stays crispy.
Drizzle extra virgin olive oil over the top layer of grated parmesan before baking to help it melt smoothly instead of just drying out.
Always slice thick chicken breasts horizontally or pound them to an even thickness so they cook quickly and uniformly in the skillet.
Test your hot Frying Oil by dipping the edge of a breaded cutlet to see if it sizzles instantly before lowering the whole piece in.
A light flour dusting gives the egg wash a dry surface to grip, ensuring your breading will not slide off the meat during frying.
Strain your cooled cooking oil through a fine strainer or a paper towel-lined colander so you can clean and safely reuse it for future meals.
- Store
- Store your fried chicken cutlets and the Tomato Sauce in separate containers to keep the crust from getting soggy in the fridge. Reheat refrigerated cutlets in a 430°F (220°C) oven for a few minutes to restore their crunch before adding the Toppings.
Can I prepare the Panko Coating on the meat ahead of time?
Yes, you can refrigerate the uncooked breaded pieces for up to 24 hours. After that window, the coating will begin to sweat and lose its ability to crisp up properly in the Frying Oil.
Why should I drain the fried meat on a wire rack instead of paper towels?
Setting the hot cutlets directly on a wire rack allows steam to escape from all sides. This simple step preserves a crispy underside on the Panko Coating before you apply the Tomato Sauce.
Why did the mozzarella cheese in my Toppings melt unevenly?
You will achieve the best results if you pile the shredded mozzarella into small mounds over the Tomato Sauce. Spreading the cheese too thinly or haphazardly can lead to uneven melting during the short oven time.
Do I have to use panko for this dish?
Regular breadcrumbs or processed stale bread are perfectly acceptable substitutes for this recipe. That said, choosing panko gives the breaded exterior a much sharper crunch while absorbing a lot less oil during frying.
What side dishes pair best with this meal?
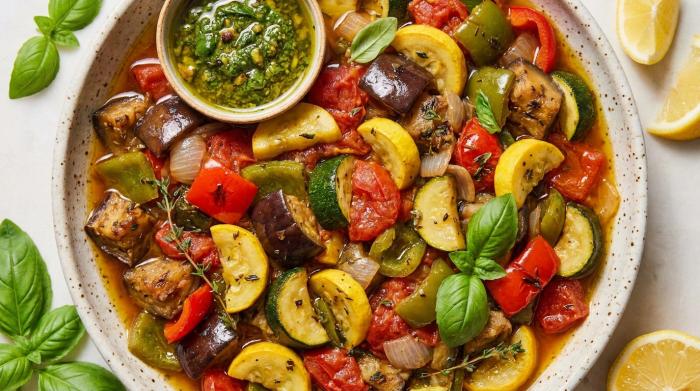
Pairing the dish with a leafy green salad dressed in balsamic vinaigrette provides a great contrast to the meat. A side of roasted vegetables also works perfectly, and you can offer warm crusty bread or soft dinner rolls to catch any extra tomato sauce on the plate.
What is the purpose of using a dry brine before cooking?
Salting the meat in advance allows the seasoning to penetrate deeply and helps the proteins retain moisture. This is vital to keep the meat juicy during a harsh double cooking process like pan frying followed by baking.
Do I really need to slice or pound the poultry before breading it?
Yes, leaving breasts whole often results in an undercooked center and an overcooked exterior. Slicing them horizontally into thinner steaks or pounding them flat guarantees they cook quickly and uniformly in the skillet.
Add a private note
Private to this device - jot your tweaks, swaps and timings. (Syncs to your account later.)
What to serve with it
See all →
You might also like
See all →

The Friday 3-recipe dinner plan 🧡
Every Friday: three tested weeknight dinners + one shopping list, ready to go. No spam, ever - unsubscribe anytime.